# Getting Started with the swiDOC Zapier Integration
The swiDOC Zapier integration lets you archive documents automatically from your favorite apps — without writing a single line of code.
# 1. Requirements
- A Zapier account (free or paid)
- A swiDOC account with an API key
👉 Open the Integrations: Sidenavigation → Integrations 
👉 Go to API Tab: API 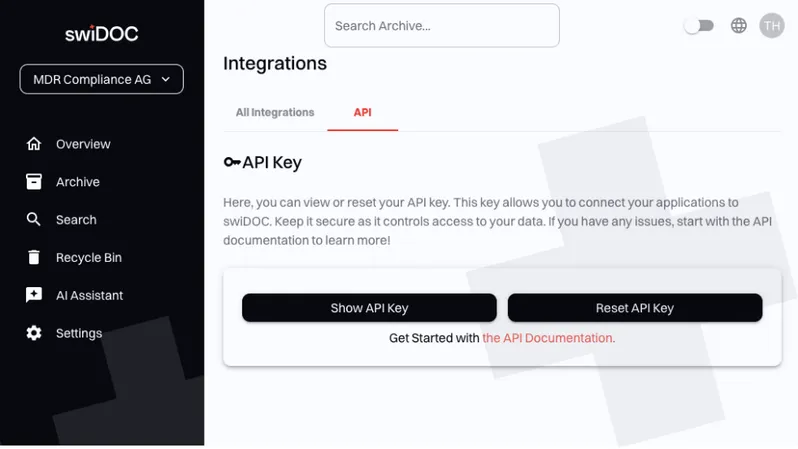
👉 Get your API key in swiDOC: Show API Key 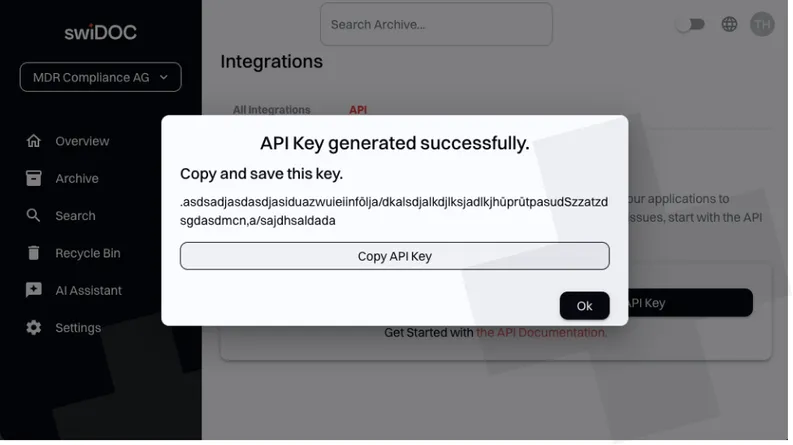
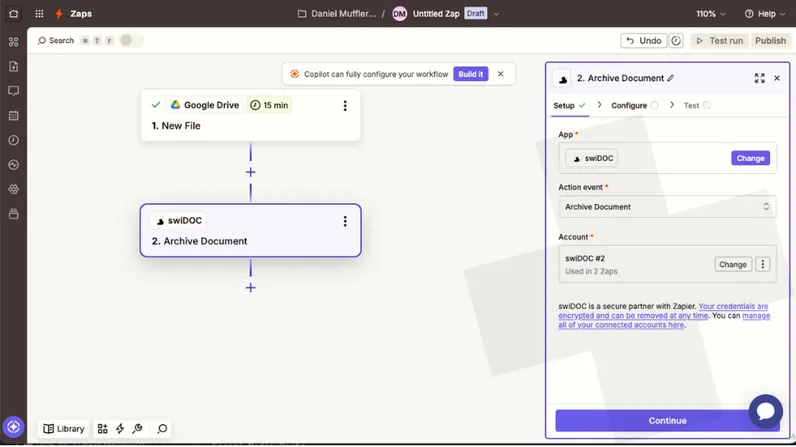
# 2. Connect swiDOC to Zapier
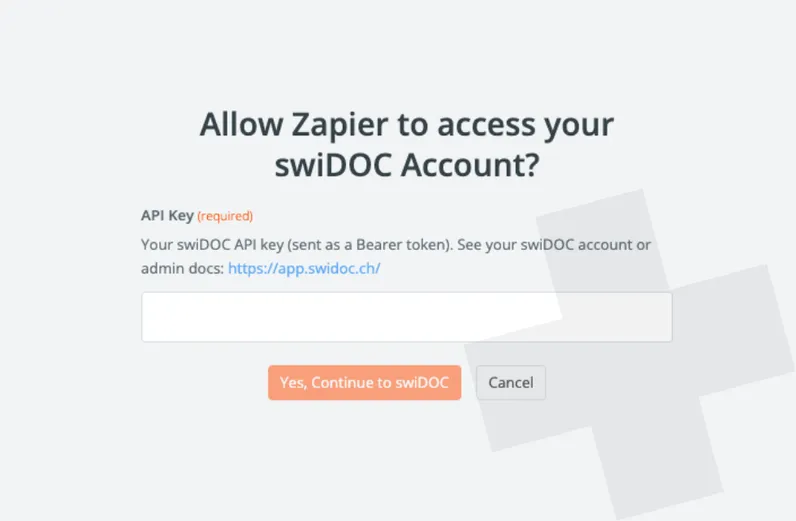
- Log in to Zapier
- Create a new Zap
- In the Action step, search for swiDOC
- Connect your swiDOC account using your API key
# 3. Archive Document Action
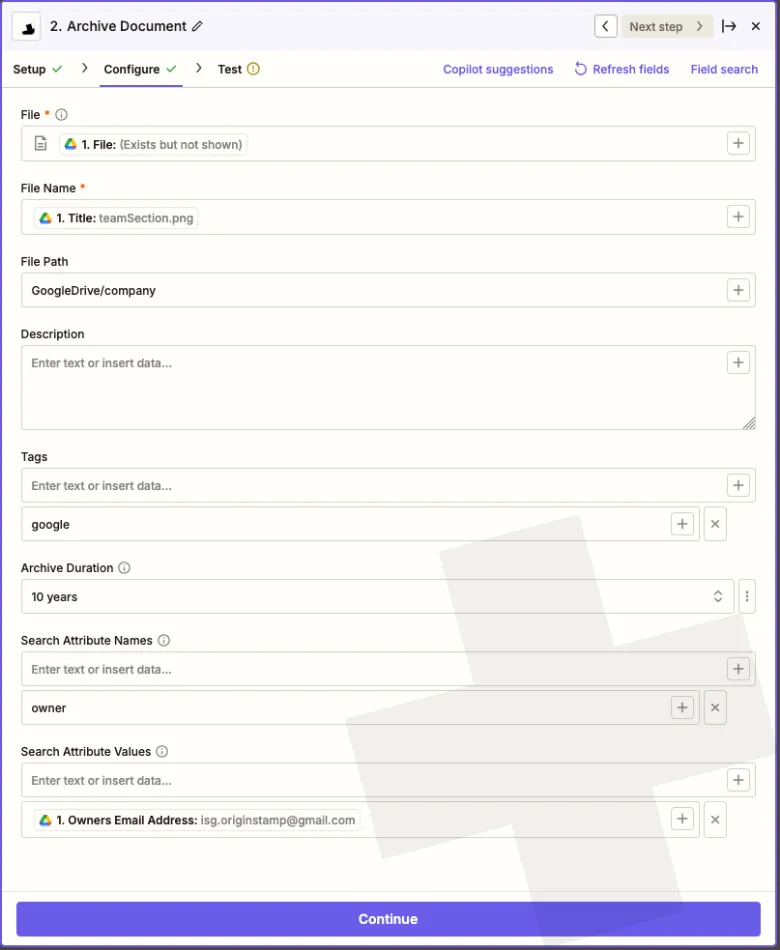
The main action available is Archive Document.
This uploads and archives a document in swiDOC with flexible metadata options.
# Input Fields
- File (required): Map a file from a previous step (e.g., Google Drive)
- File Name (required): The document name to save
- File Path (optional): Define a folder path inside swiDOC
- Description (optional): Short text description
- Tags (optional): Add keywords for easy search
- Archive Duration (optional): Choose how long to archive (default = 10 years)
- Search Attribute Names & Values (optional): Define custom search fields in parallel
Important:
Duplicate files cannot be uploaded. swiDOC automatically detects duplicates to keep your archive clean and free from redundancy.
# 4. Example Workflows
- Archive every PDF uploaded to a Google Drive folder
- Send documents from Gmail directly to swiDOC
- Store Slack file uploads permanently in swiDOC
# 5. Tips
- Always test your Zap to confirm the file uploads correctly
- Use Tags to keep documents organized
- Start simple with one Zap, then expand