
# Getting Started
Welcome to swiDOC! We are glad you chose us to make your paperwork simpler and faster. This manual has all the important instructions for swiDOC.
Before you can use swiDOC you need an account. Go to app.swidoc.ch/signup (opens new window) and enter your name, your email address and a password. After that, you need to confirm your email address.
Once you have registered and confirmed your swiDOC account, our onboarding takes you through a few setup steps, explained in more detail below. When you have completed them, you are ready to go.
Choose a trial package
Create organization
Done
For the first 30 days after registering you can try swiDOC for free, with no hidden costs and no credit card details required.
# Confirming your email
After registering you need to confirm your email address. You receive an email containing a link. Click it to complete your registration.
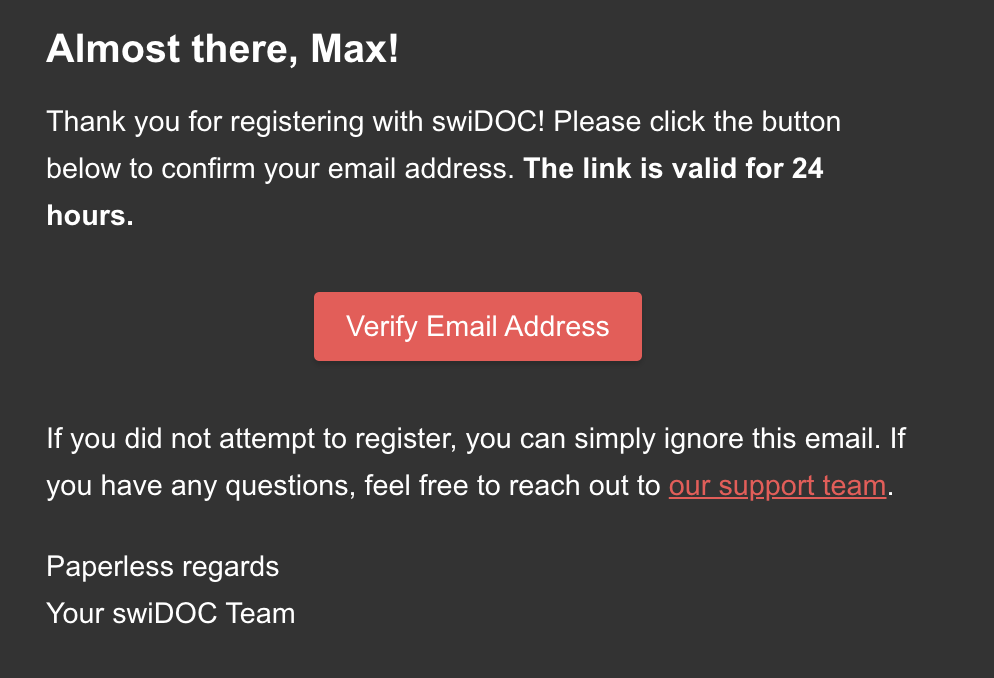
A success message confirms your address. Click Continue to sign in.
No email?
Check your spam folder first. If you sign in before confirming, swiDOC shows Please Verify Your Email Address with a Send a New Confirmation Email button. See What if I didn't receive a confirmation link? in the FAQ.
# Creating your organization
# 1. Choosing how you will use swiDOC
On the Package step you say who you are archiving for. The card you pick sets the package your trial runs on, and you can change the package later:
| Choice | Pick it when |
|---|---|
| Organization | You archive for your own business or for yourself. |
| Client management | You are a trustee and want to manage documents for several clients. |
Select the card that fits, then click Start trial period. Each card names its package and lists what the trial includes.
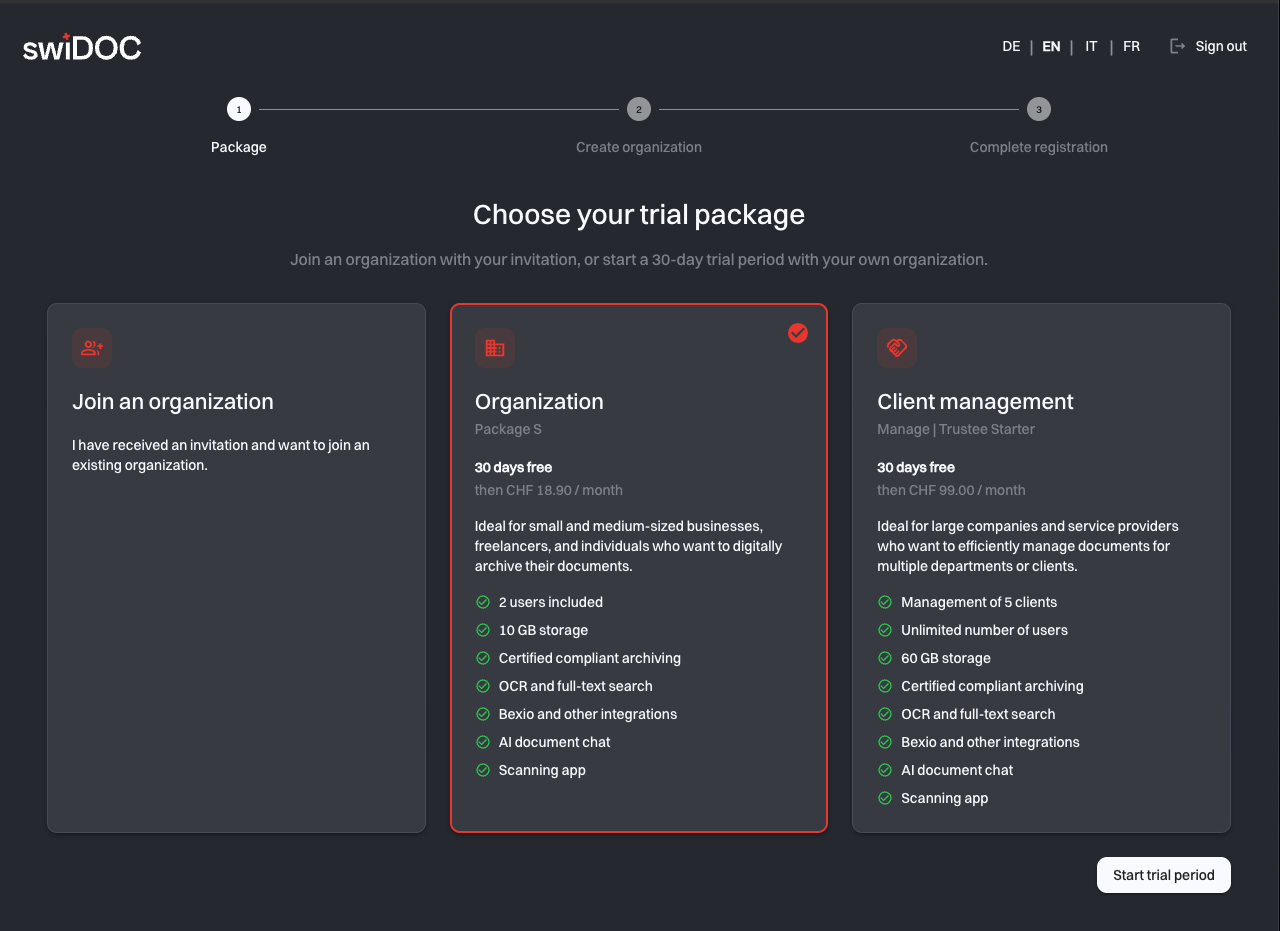
If you select Organization, the trial for Package S starts automatically. If you select Client management, we activate the Manage | Trustee Starter package for you. You can change your subscription at any time from Subscription. You find our current prices on our website (opens new window).
Neither trial package includes Access Management, so during the trial you cannot limit a colleague to certain folders.
You were invited by someone else
If a colleague already invited you, do not create an organization. Select Join an organization and click Continue to invitations to enter the organization you were invited to. If swiDOC finds no invitation for your address, it says so and offers to notify you once an invitation arrives.
# 2. Naming your organization
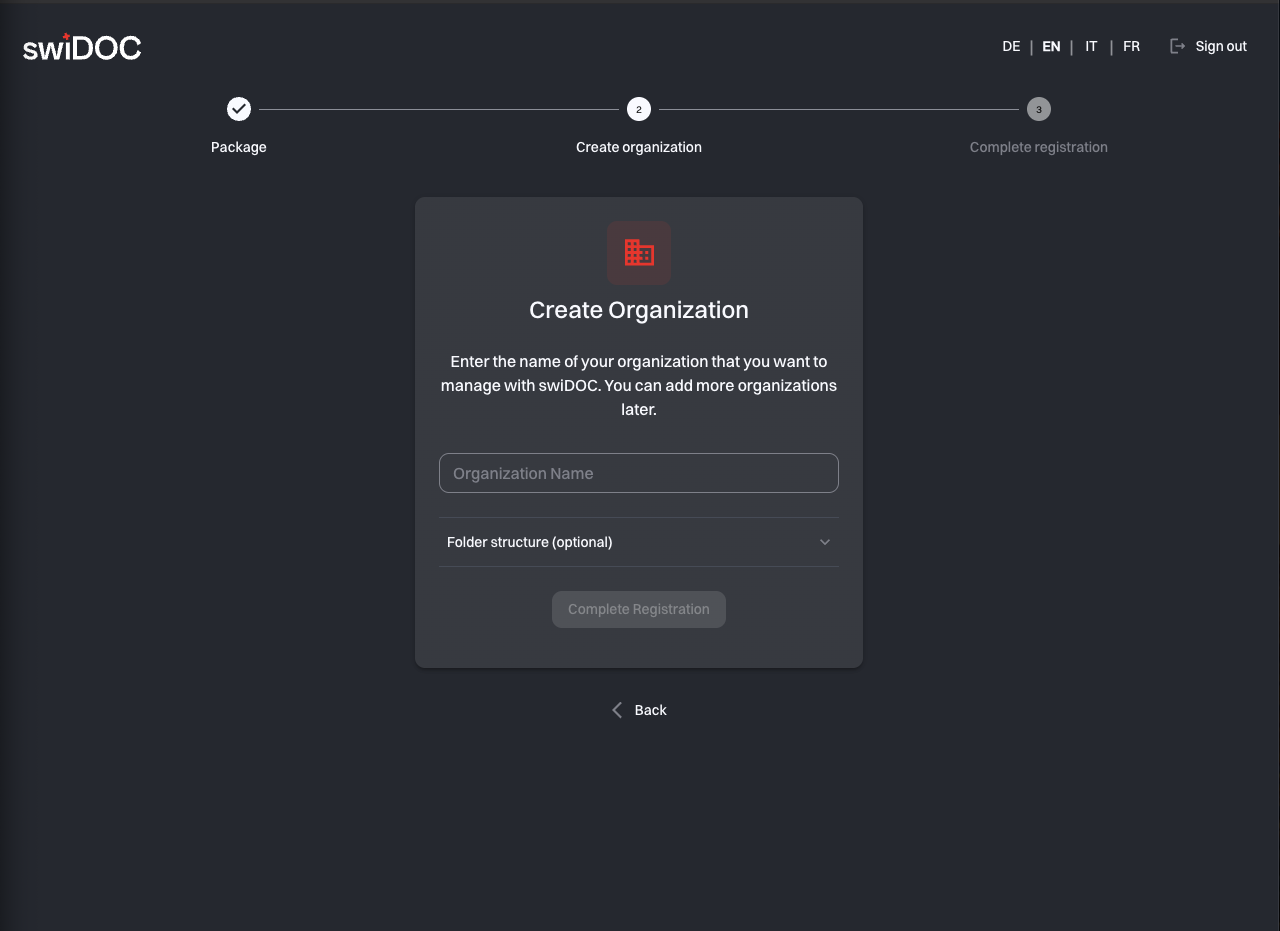
On the Create organization step, enter the name of your organization. This is the name everyone in it sees, and you can add more organizations later.
# Starting with a folder structure
Below the field for your organization's name you find one more setting: Folder structure (optional). Expand it to give your archive a folder layout right away. You can also skip this step. You can always create folders in the Archive later. This feature is only there to make structuring your archive easier.
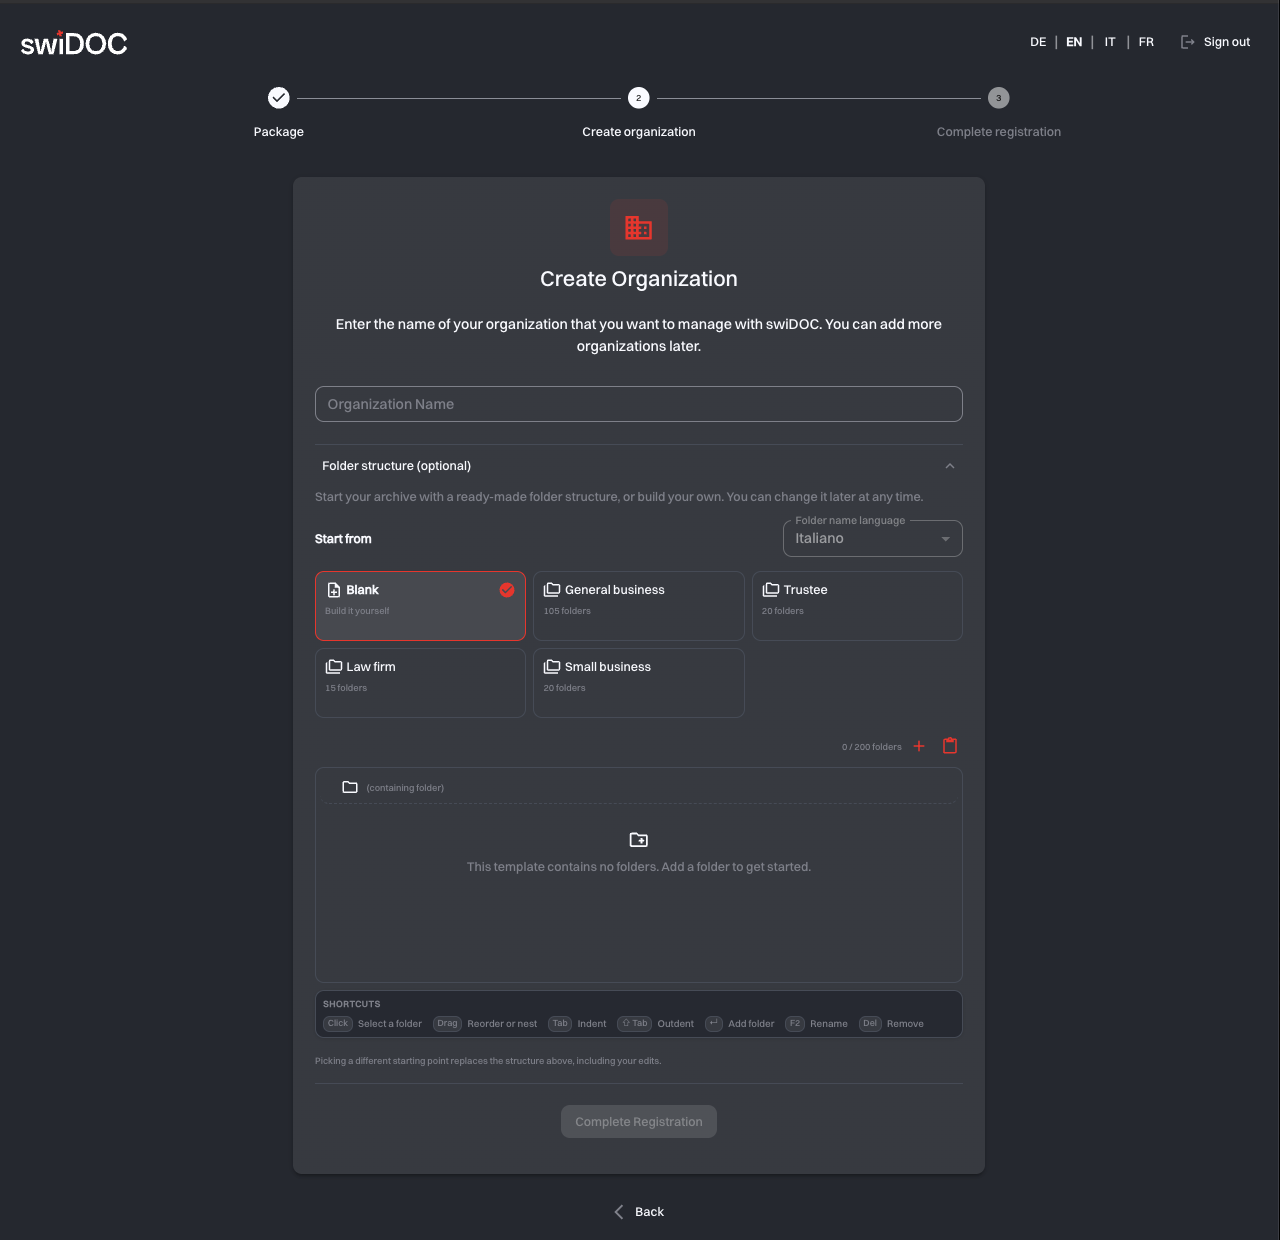
Under Start from, pick a starting point:
| Starting point | What you get |
|---|---|
| Blank | An empty structure you build yourself. |
| General business | A broad structure covering the usual business areas. |
| Trustee | A structure for managing documents on behalf of clients. |
| Law firm | A structure organized around mandates and legal matters. |
| Small business | A compact structure for a small company. |
Each preset shows how many folders it contains. Folder name language controls the language the preset's folder names are created in. It does not change the language of the app.
Whichever you start from, the structure below is yours to edit. Click a folder to select it. You can also use shortcuts to work faster:
| Action | How |
|---|---|
| Add a folder | Enter |
| Rename a folder | F2 |
| Remove a folder | Del |
| Nest a folder | Tab |
| Move it back out | Shift + Tab |
| Reorder or nest | Drag it |
Attention: a collapsed menu creates no folder structure
If you collapse Folder structure (optional) again before finishing, no folders are created, even if you had picked a preset. Leave the section open when you click Complete Registration.
Click Complete Registration to create the organization.
# 3. Completing registration
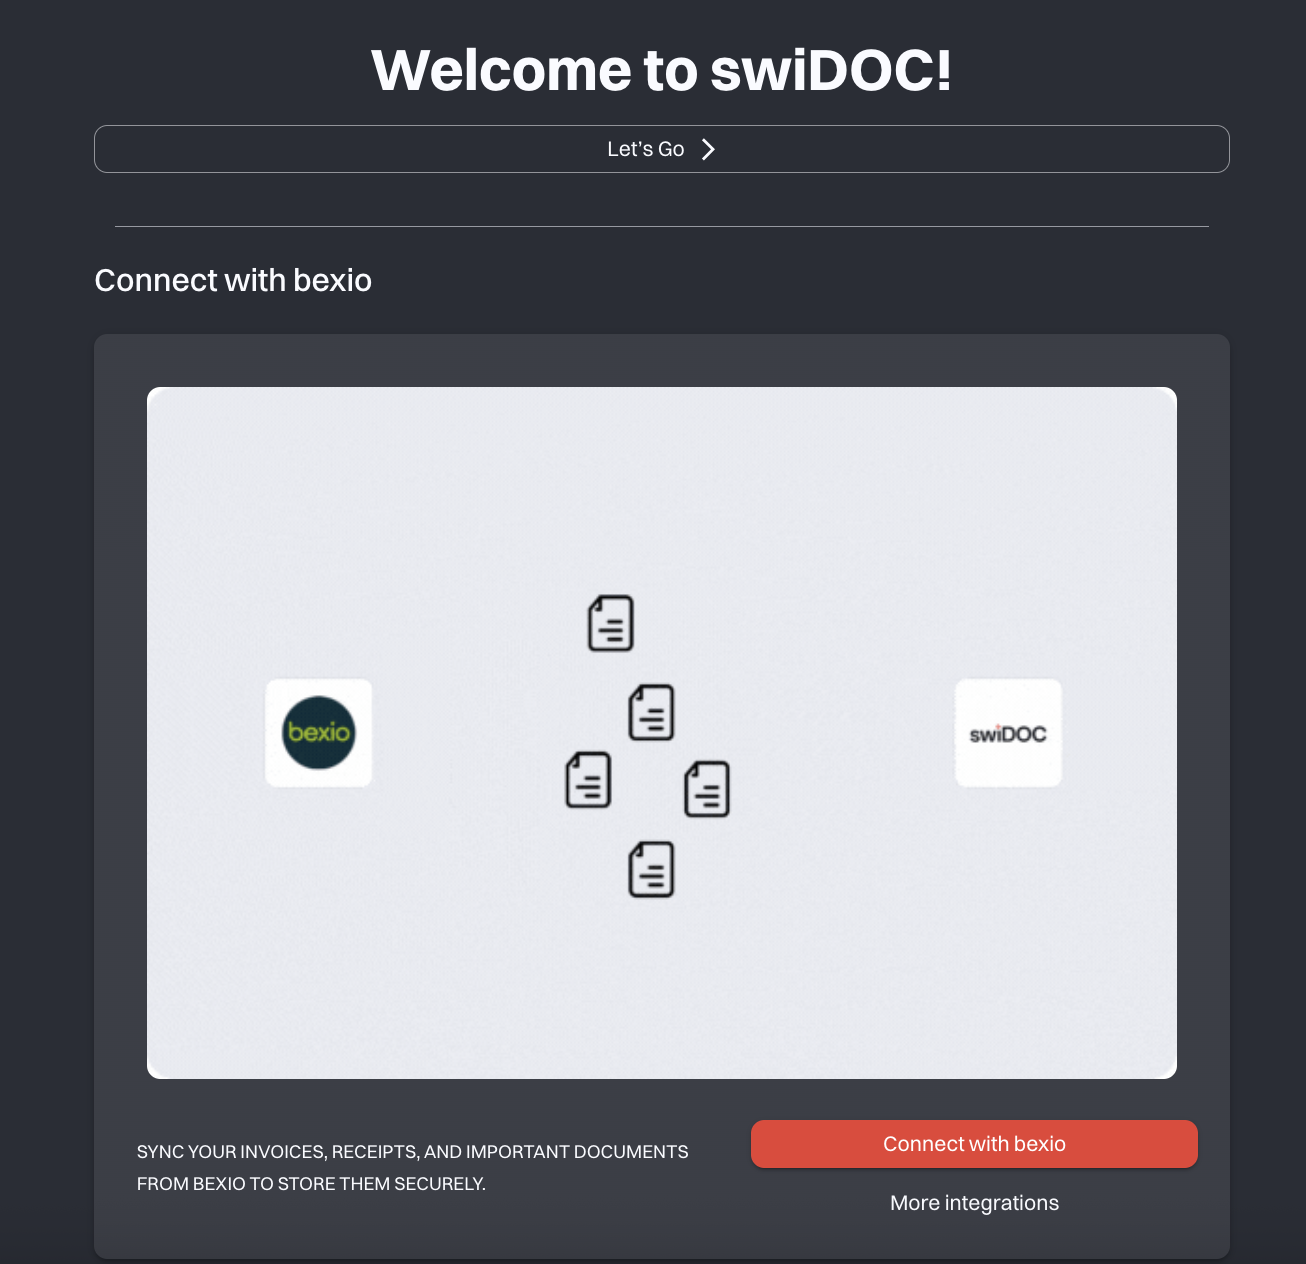
Your organization exists. From here you can go straight to your archive with Let’s Go, connect bexio, or pick another integration. The Integrations page walks you through setting up an integration step by step.
# Finding your way around
Video tutorial
Watch the tutorial Navigation und die wichtigsten Funktionen (opens new window) on YouTube.
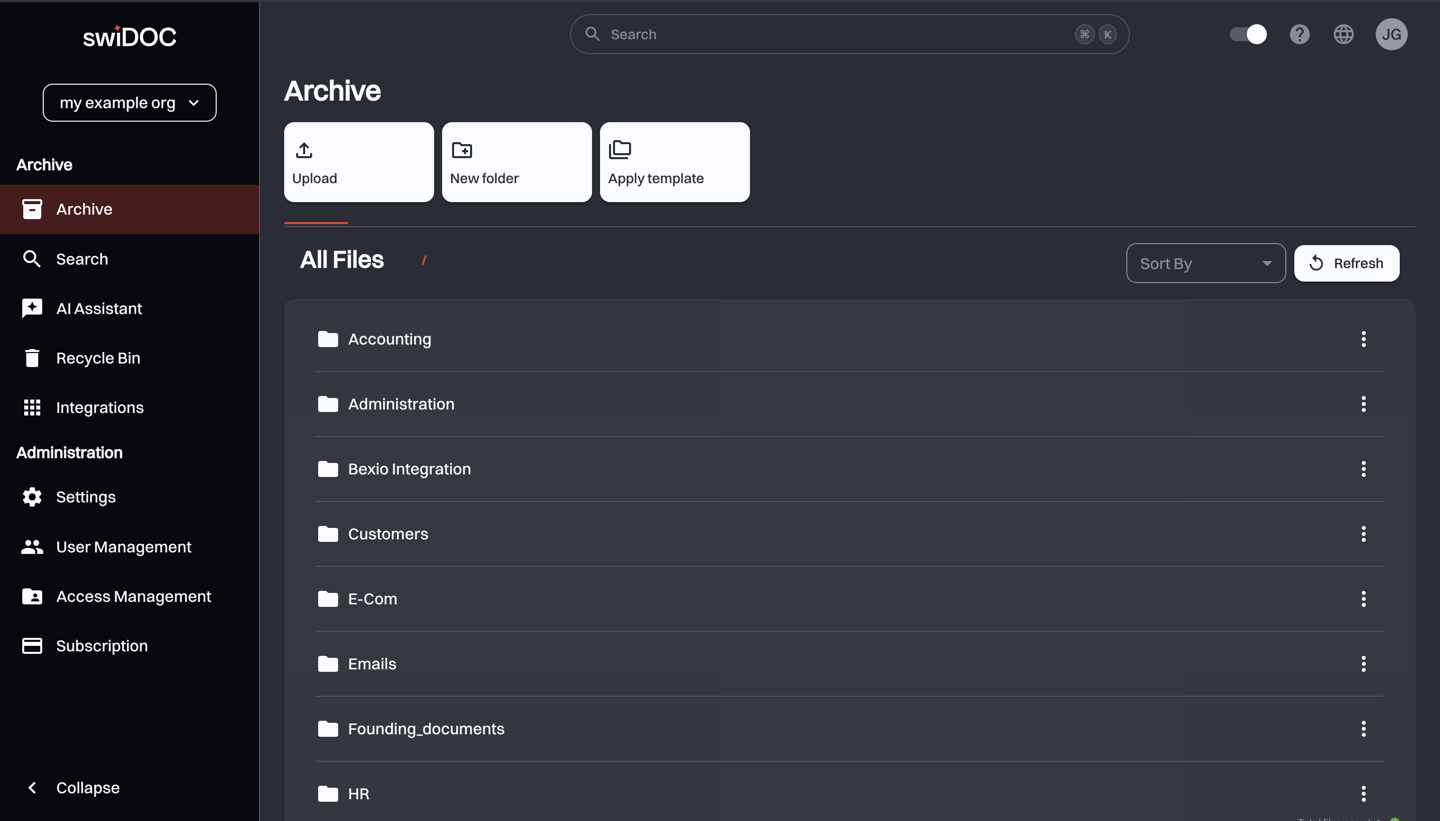
Archive covers your day-to-day work:
| Page | What you do there |
|---|---|
| Scan | Scan paper documents (shown only on smartphones and tablets) |
| Archive | Your documents and folders |
| Search | Find documents |
| AI Assistant | Ask questions about your documents |
| Recycle Bin | Delete documents whose retention period has expired |
| Integrations | Connect swiDOC to your existing systems |
In the Administration section you make important settings and configurations:
| Page | What you do there |
|---|---|
| Settings | Organization profile, folder templates, attributes, tags, chronicle |
| User Management | Invite people and manage roles |
| Access Management | Control who can see which folders |
| Subscription | Your package, usage and billing |
You only see the entries your role and your package give you access to, so your sidebar may be shorter than the lists above. Read more under User Management.
Along the top you find the search field, the light/dark toggle, the help button, the language selector and the circle with your initials. That circle opens your personal menu: Subscription, My Profile, Account Security and Sign Out. Your own settings live there, separate from the organization's settings: profile details, password, two-factor authentication and data export.
The help button (Report an Issue) opens a request to swiDOC support. On a phone or tablet, a number on it shows how many replies from support you have not read yet.
Light and dark mode
swiDOC has both. Switch between them with the toggle in the top bar.
# Working with several organizations
Video tutorial
Watch the tutorial swiDOC für Treuhänder erklärt (opens new window) on YouTube.
You are not limited to one organization. If you archive for several companies, or you are a fiduciary working for several clients, you can belong to more than one. Each organization has its own archive, its own members and its own settings.
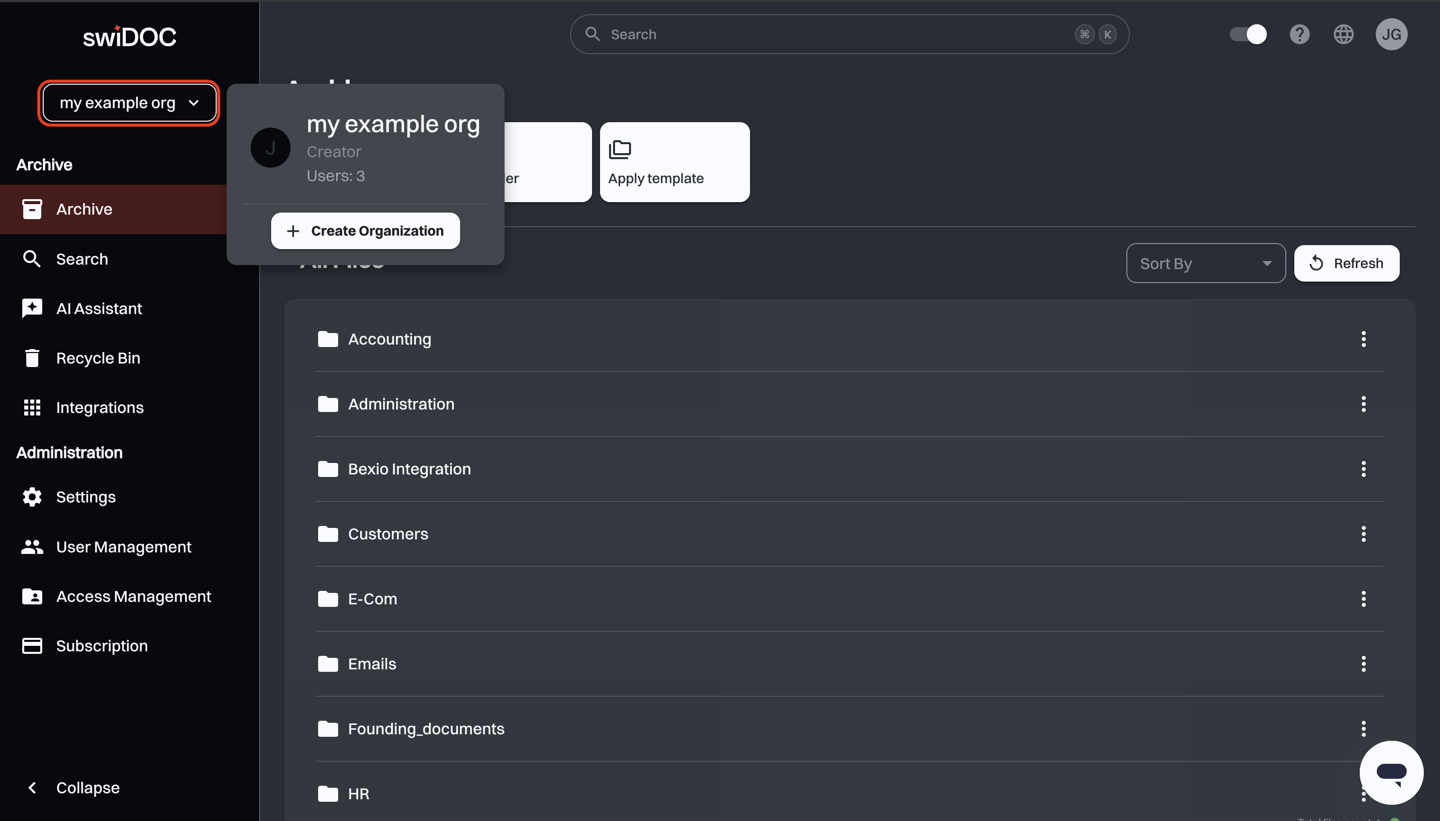
Switch between them from the organization name at the top of the sidebar: it opens Your Organizations, a list of every organization you belong to and your role in each. Create Organization in the same menu adds another one, with the same optional folder structure step as during registration.
Managing many clients from a single subscription is what the Manage | Trustee packages are for; see Subscription.
# First steps with swiDOC
- Create a folder or two in your Archive, or start from the structure you picked during registration.
- Upload a document and set its retention period.
- Try Search, including a word that only appears inside the document.
- Invite a colleague once you are happy with the structure.
# Related
- Archive: uploading, organizing and retaining documents
- Subscription: how to change package after the trial
- User Management: inviting people and what each role can do
- FAQ: short answers to the questions that come up most