# Manage documents
Document management is the core function of the application.
# The archive
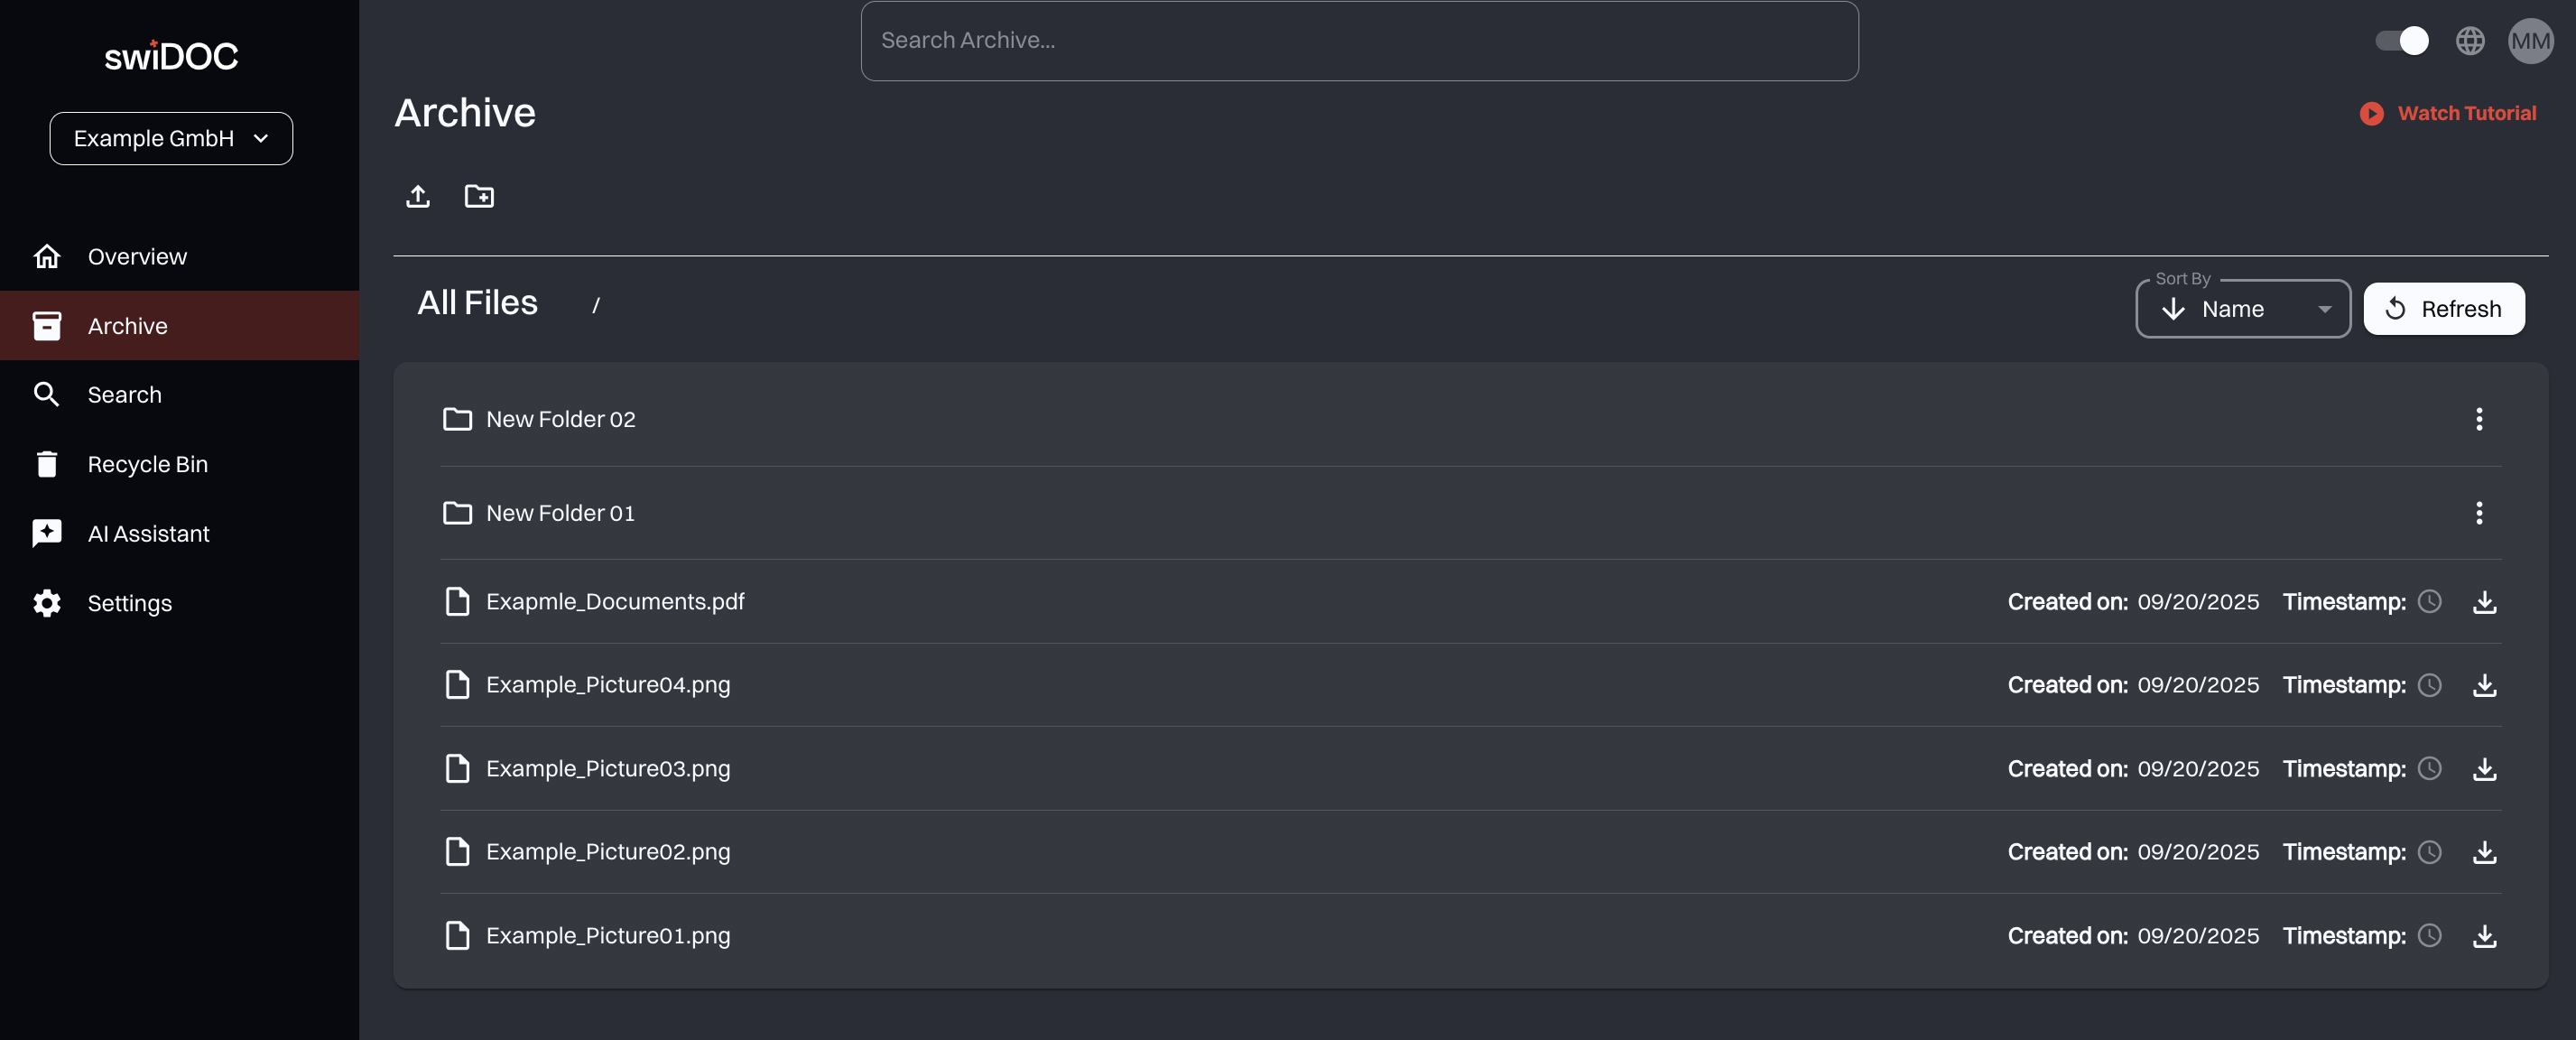
By clicking on the "Archive" menu item, the file repository can be accessed. All documents uploaded to the platform are stored there.
New folders can be created at any time by clicking on the "Create folder" button.
By clicking on the folders, you can navigate through the folder structure.
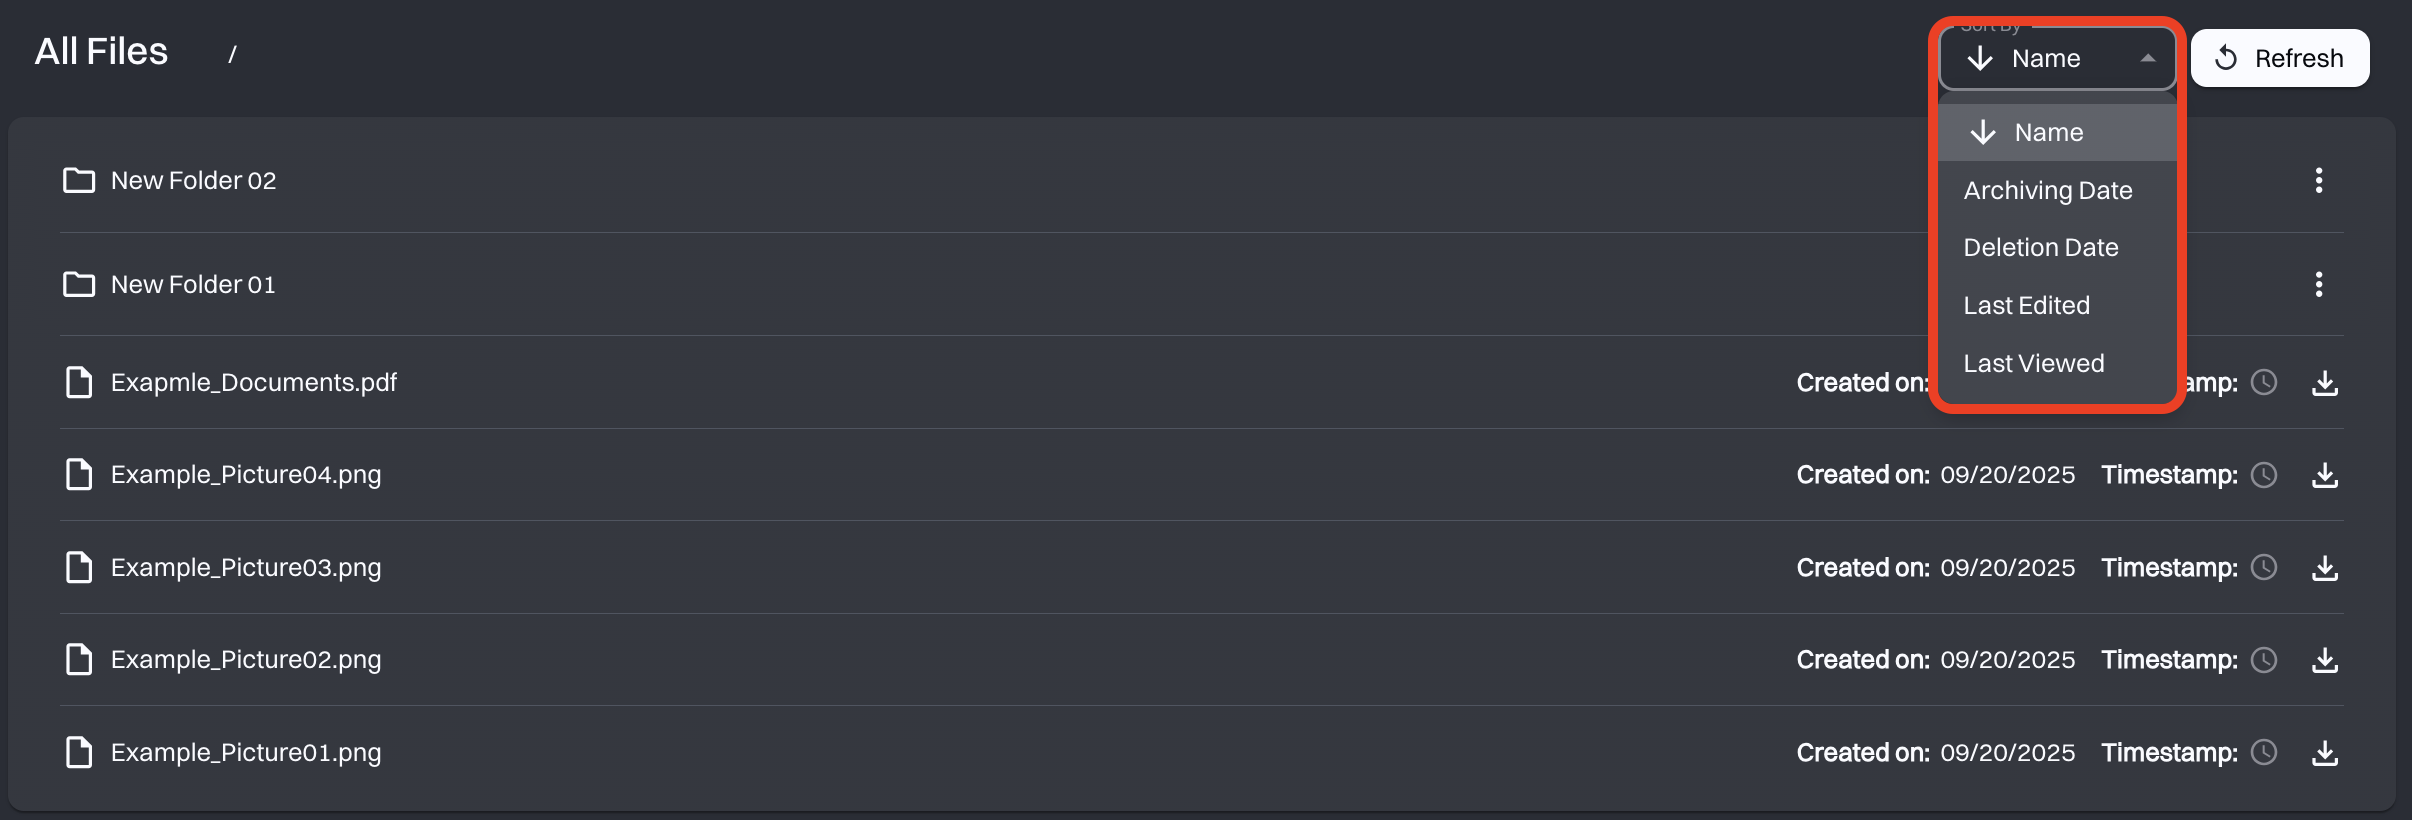
All files and folders can also be sorted on different criteria.
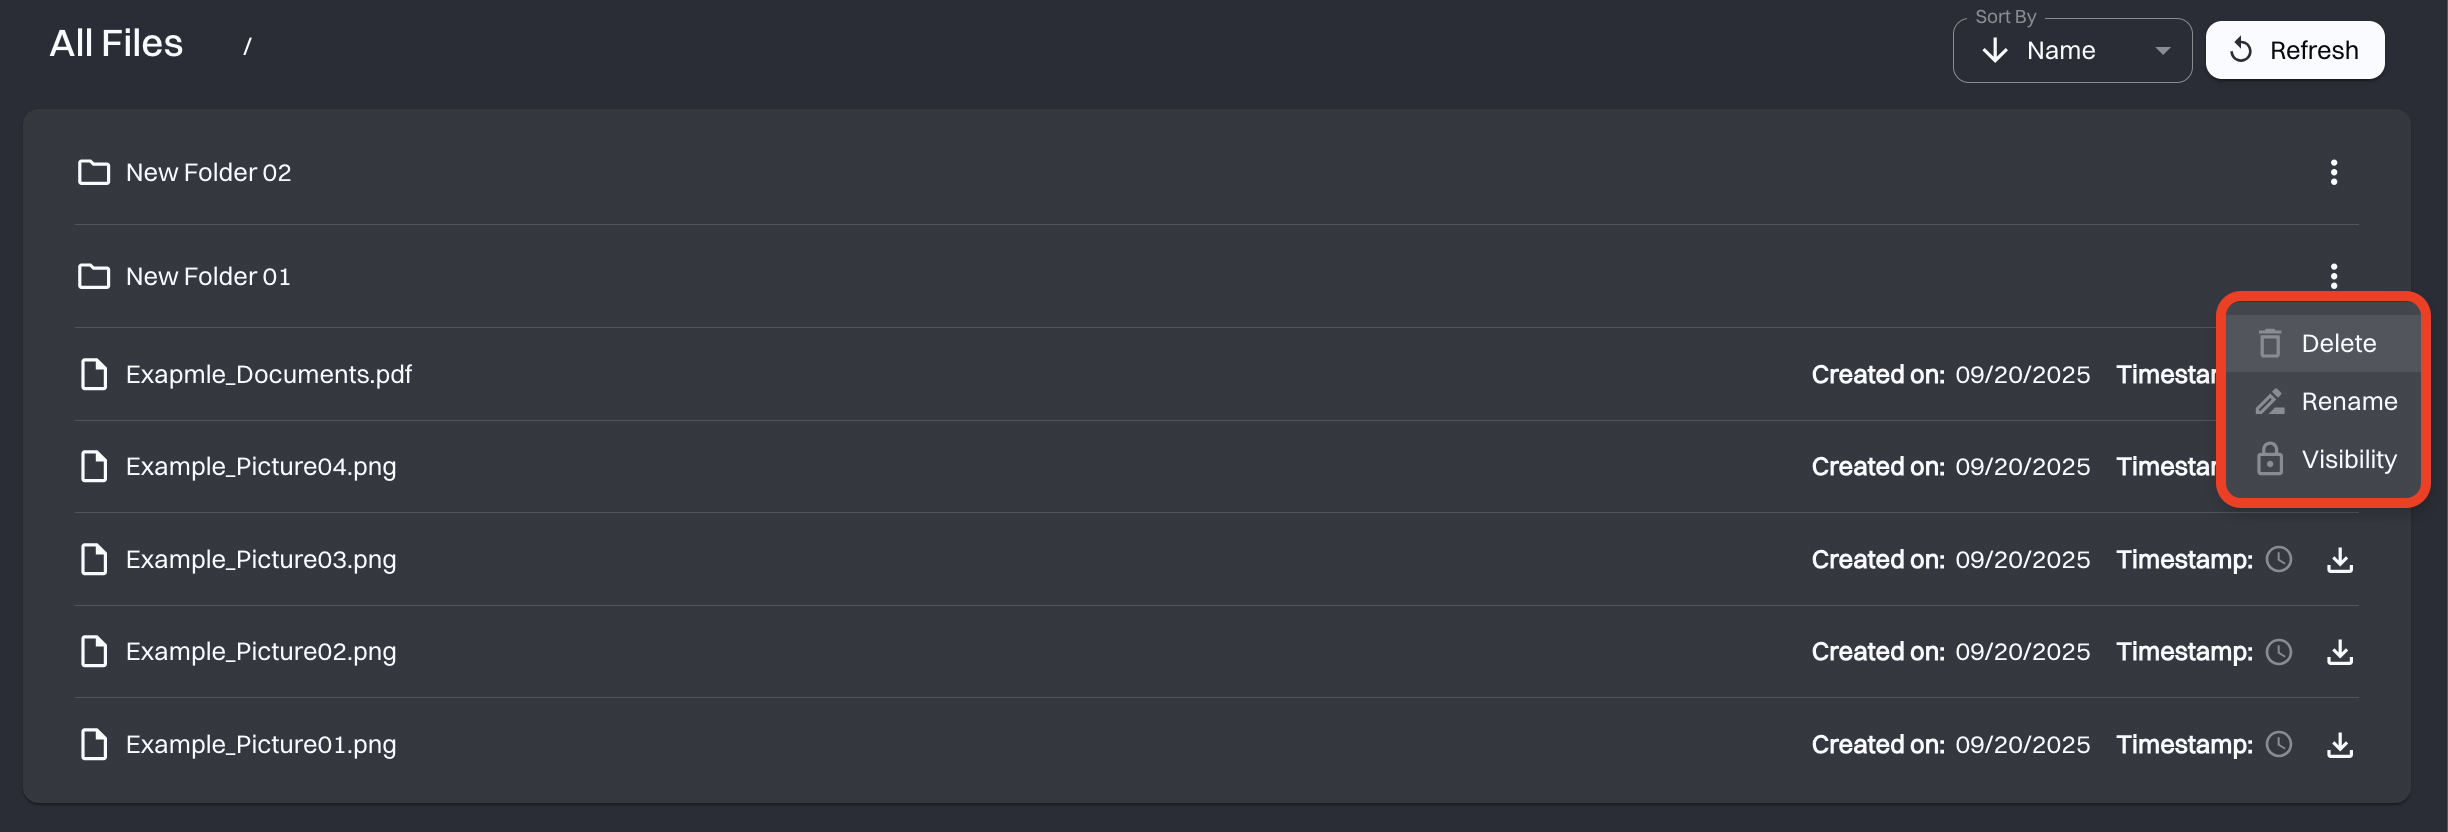
Empty folders can also be easily deleted in the archive.
# Upload documents
Documents can be uploaded to the platform by clicking the "Upload Document" button. If the user is in a folder, this folder will automatically be used as the source folder of the file.
After "Upload document" has been clicked, the Upoload form opens. Here all information relevant for archiving, as well as the document itself can be entered.
Once all the information is entered, it is necessary to confirm the archiving by clicking "Archive". An information output shows the settings made once again before the final archiving. The file archiving is initiated by the confirmation.
# Folder upload
Folders can be uploaded by activating the "Upload Mode" button on the "Upload Document" page. This works exactly like uploading single documents only that a folder must be selected in the upload form instead of a single file.
For each file in the selected folder, the name and description can also be set here individually. In addition, the set archive duration is assigned for each document, but this can also be changed for each document in the detail view after the upload.
# Options when uploading documents and folders
The user has various functions at his disposal when uploading the file. He can upload a file either by "drag and drop" or by manual selection. Meta information such as a description can also be entered.
# Path of the document
The document path can also be customized. For this purpose, a menu item is available in the top right corner. A window opens in which you can select the desired folder/path. In addition, new folders can also be created or empty folders can be deleted here.
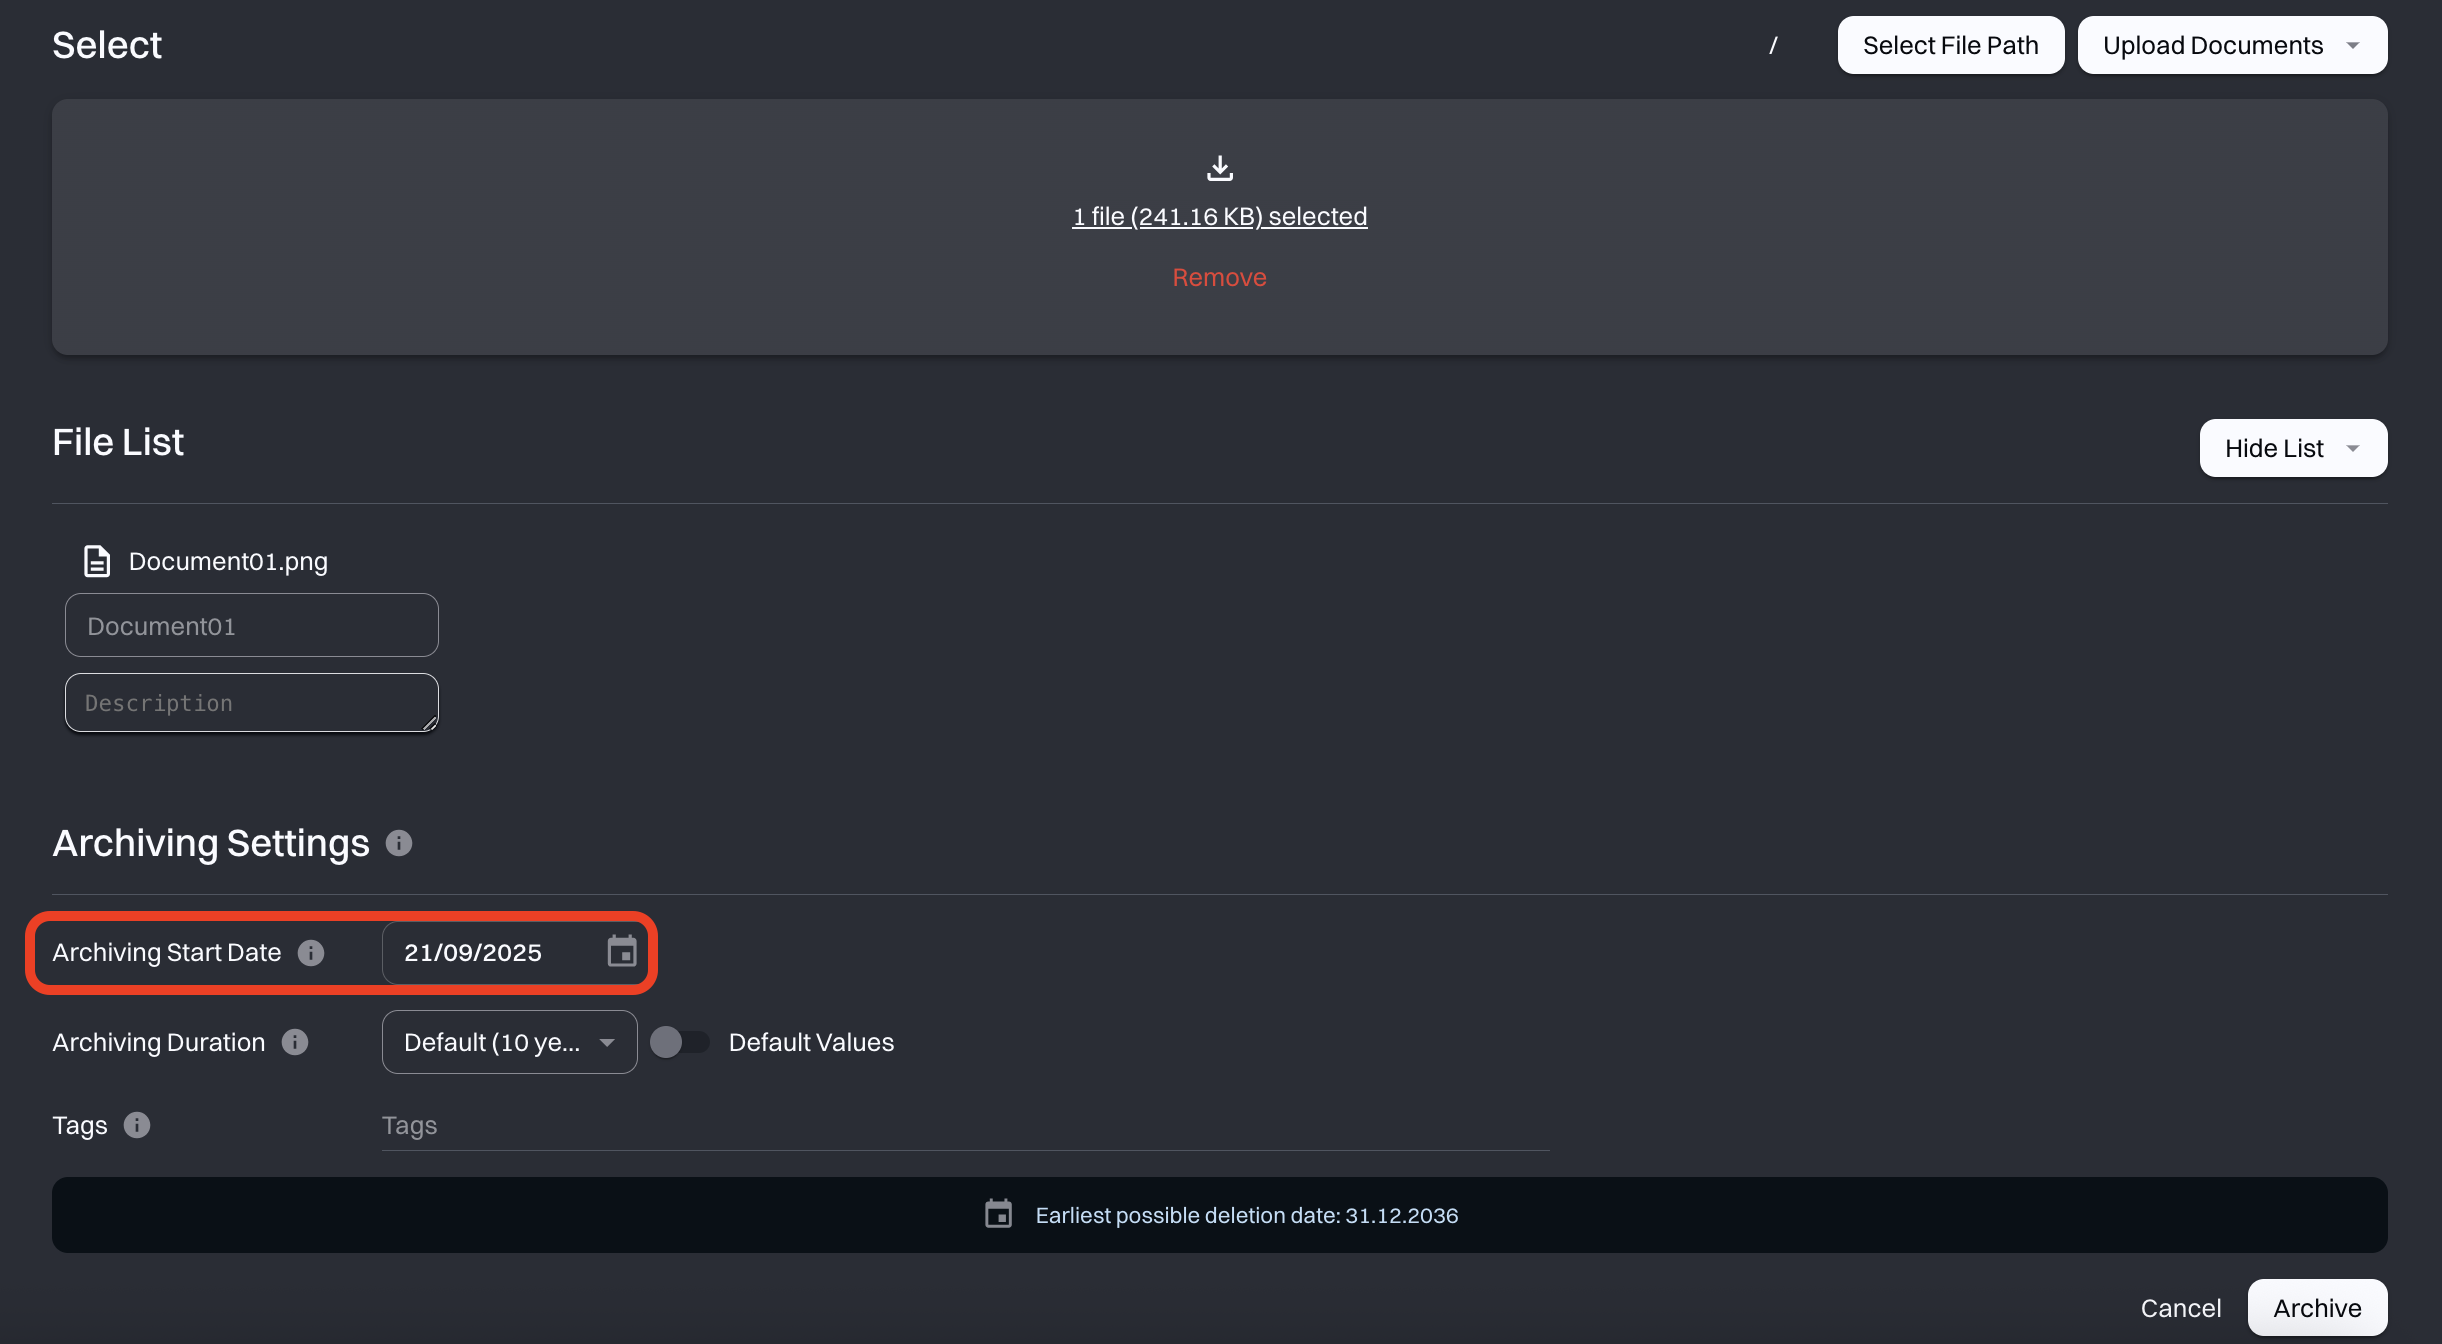
# Physical archiving date
If a document has already been stored physically for some years and is now uploaded in digital form, you can set this date here.
The system will then adjust the deletion date automatically, either earlier or later, depending on the archive time.
For new digital documents, simply leave this field as it is.
# Archive Duration
Depending on the type of document, there are different retention periods. These can be set using the archive duration settings. If a manual setting is desired, this can be done by selecting the "Manual setting" option.

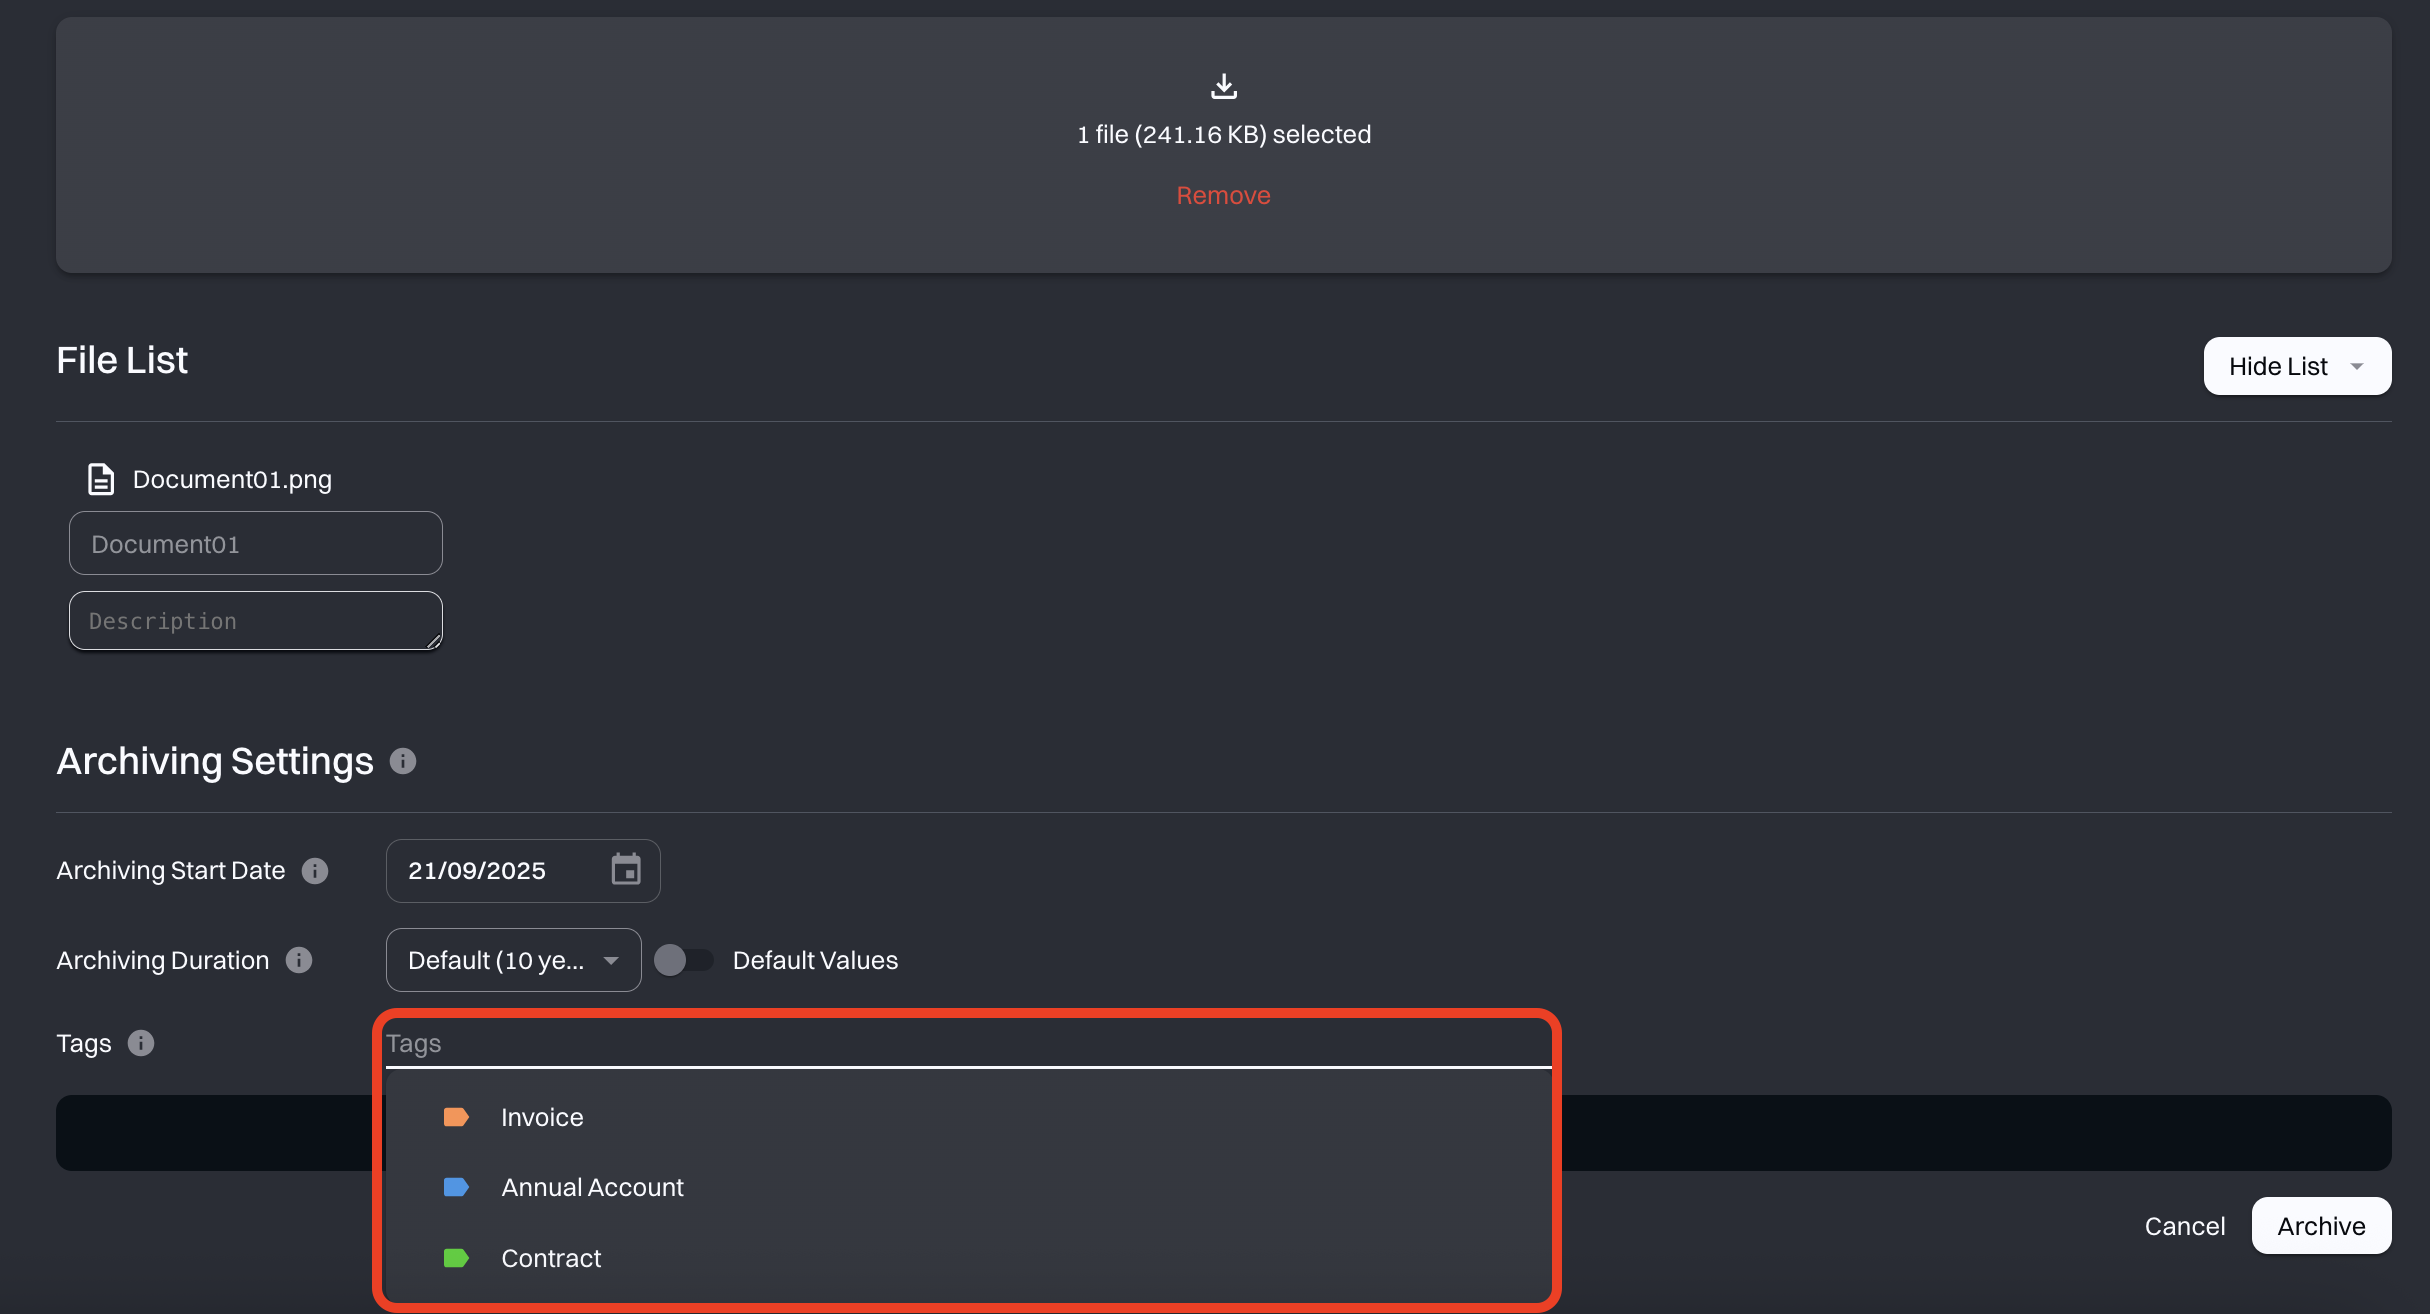
# Tags
Using tags, different documents can be easily sorted and found. These can be selected from the pre-existing tags, as well as created by the user.
By clicking on "Upload document," the document is uploaded to the storage. If the action is successful, the user is redirected to the folder path of the document.
If you’re not sure how long you need to keep certain documents,
feel free to visit our blog (opens new window).
# Get document information and edit document
By clicking on a document or via the "Details" field in the dashboard, the information stored for a document can be viewed.
This view shows you the latest interactions with your document and the current archive settings.
From here, you can also download a copy of the file and the proof of authenticity whenever you need it.
As shown in the video above, you can click the pen icon to edit the page.
Here you can change the file name, extend the archive duration, or update the tags.
# Moving documents
By clicking on "move", the document path can also be changed. In addition, documents can be moved within the folder structure by drag and drop.
# Delete documents
Once uploaded, documents cannot be deleted during their defined retention period. This ensures that all legal retention requirements are fully met and that no data is accidentally lost.
Files that have reached the end of their archive period are moved to the recycle bin.
From there, you can delete them individually, delete several at once, or extend the archive period if needed.
In addition, the Owner role can activate the four-eyes principle in the security settings.
When this option is enabled, a file is not deleted immediately.
Instead, the deletion of a document must be approved by two administrators before it is permanently removed.
This feature adds an extra layer of security and helps prevent accidental deletion of important data.
Read more about the four-eyes principle.
